
5 Easy Ways to Compress Video Files Without Lossing Quality
- 2 Ways to Manually Compress Video Files [Windows/Mac]
- How to Reduce Video Size without Quality Loss on Windows
- Steps to Compress Video Files on Mac
- Detailed Steps to Shrink Video File Size Online
2 Ways to Manually Compress Video Files [Windows/Mac]
The first method that this post would like to show you is to reduce video size manually. Shrinking the video’s file size doesn’t require to avail for a fancy tool or undergo complicated operations. It only takes a few simple processes for you to make your videos occupy less storage space, speed up the upload or sharing process, and more. So, here are some of the simple ways to compress video files:
1. Zip the Video File
The first way you can do is to zip the video file to compress it. Doing this will allow you not only to compress the size of the multiple video files but also to share them easily and quickly simultaneously. So, how do you compress video files by zipping them?
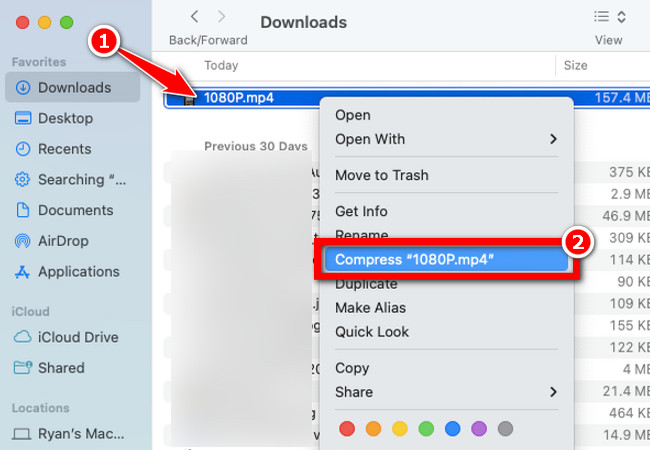
Well, if you are using a Mac, you first need to look for the video you wish to compress on Finder, right-click or control + click on it, and select “Compress [filename]” from the options.
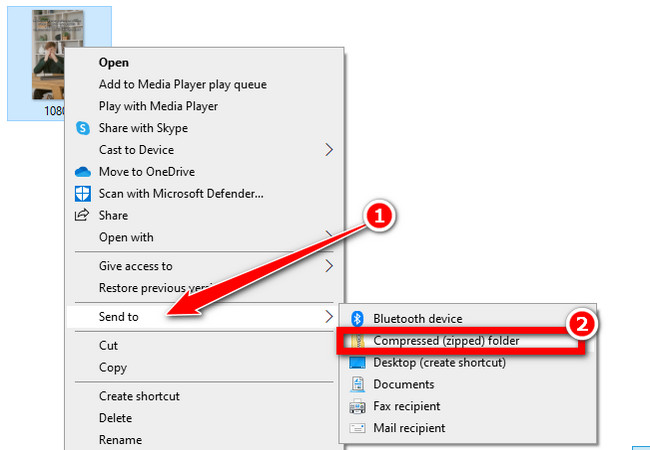
Otherwise, if you are using Windows, look for the video in File Explorer, right-click on it, hover your cursor over the “Send to” option, and select “Compressed (zipped) folder” from the sub-options.
2. Trim the Video
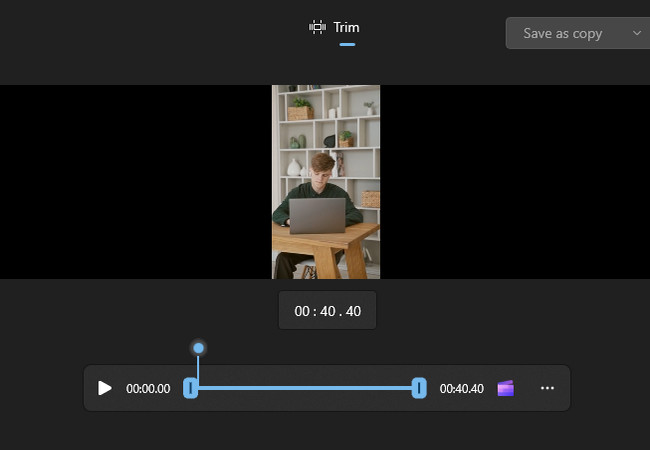
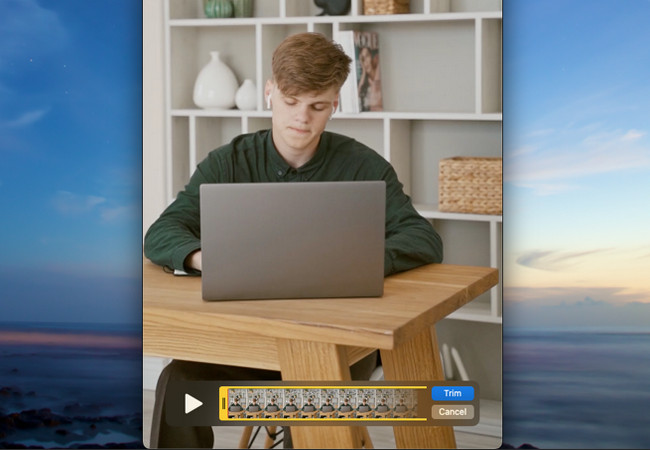
Apart from the first method to reduce video size, you can also manually trim your video’s beginning and ending parts. If there are unnecessary clips from those areas, you can cut them and this will reduce the size of the video. Now, the only way you can do that is to use video editing software, which there are a lot of available options on the market. Alternatively, if you don’t want to install a third-party tool, Windows and Mac support built-in editors that enable you to trim videos. Photos app for Windows, then QuickTime and iMovie for Mac.
The process of trimming videos on those tools is just the same. Upload or import the video you wish to trim, access or select the “Trim” option, then drag the ends of the trimming bar to select the portion of the video you wish to keep, then click Trim or Save. And that’s it!
How to Reduce Video Size without Quality Loss on Windows
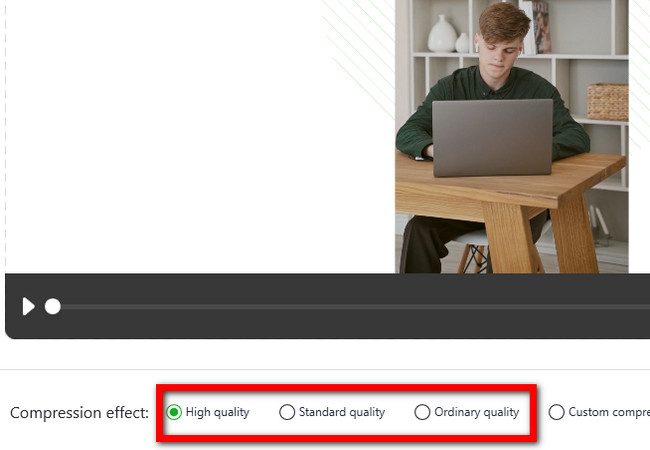
The first video compression software that this post would like to introduce to you is the professional RecCloud. This Windows-compatible tool supports a Video compression feature that enables you to effectively and easily reduce video size. This feature offers you various compression effect options that you can choose from, including High quality, Standard quality, and Ordinary quality, each providing you with different compression effects. For example, if you want to preserve the original quality of your video, you can choose high-quality. Otherwise, if you want a compression effect that offers a good compromise between size and quality, go for Standard. Apart from that, this tool’s feature also supports a Custom compression option that enables you to manually select specific sizes, formats, and resolutions for more granular control over the output.
Here’s how you use it:
- Download RecCloud on your Windows computer.
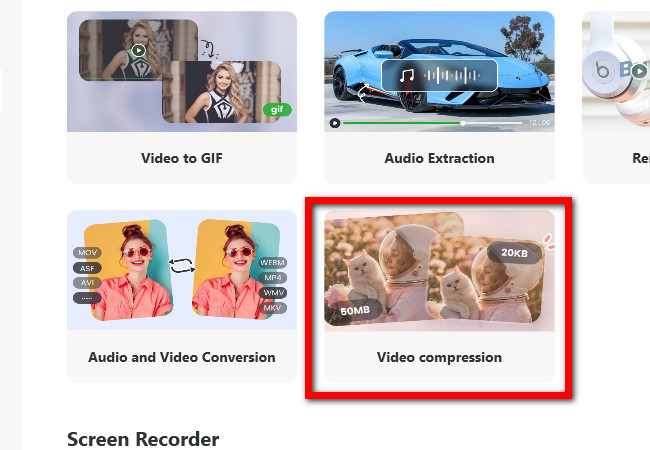
- After that, launch it, scroll down, and select the “Video compression” option.
- Then, click or drag and drop to add the video you wish to reduce the size. If you wish to automatically compress your video, choose a specific “Compression effect” between High, Standard, and Ordinary qualities.
- Otherwise, if you wish to manually tweak your video’s size, format, and resolution, select “Custom compression”, tweak the following parameters, and click “OK”.

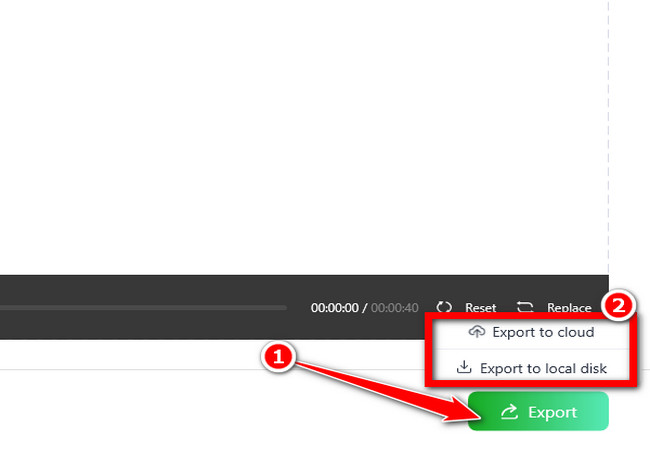
- Once you are done with the above setups, click the “Export” button and choose between “Export to cloud” or “Export to local disk”. And that’s it! That’s how you reduce video size using RecCloud’s Video compression feature.
Steps to Compress Video Files on Mac
If you are using a Mac, one of the best tools you can use to reduce video size is HandBrake. This user-friendly, free program reduces the size of your video files without losing much quality. It reduces the size of your videos and makes them easier to save or share online by modifying settings like resolution, format, and compression. Additionally, whether you’re freeing up space on your Mac or preparing files for uploading, HandBrake gets the job done quickly. Moreover, it has built-in presets for much easier and quicker video compression.
Here’s how you use it:
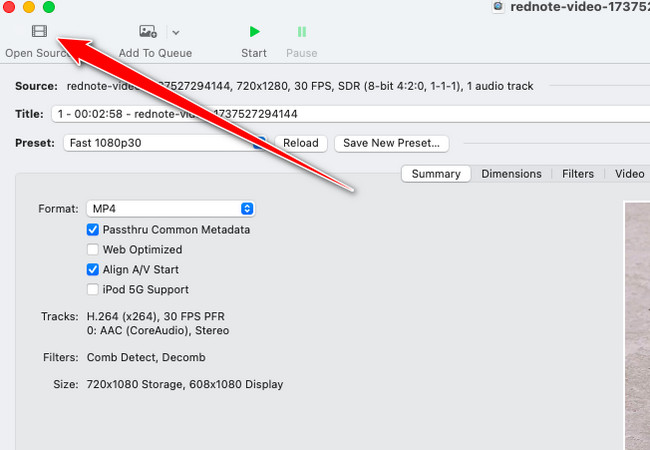
- Install Handbrake on your Mac computer. Then, launch it and click the “Open Source” button at the top-right corner. After that, select the video you wish to reduce the size to import it.
- Next, click the “Presets” button at the upper right corner of the tool and select “Fast 1080p30.”
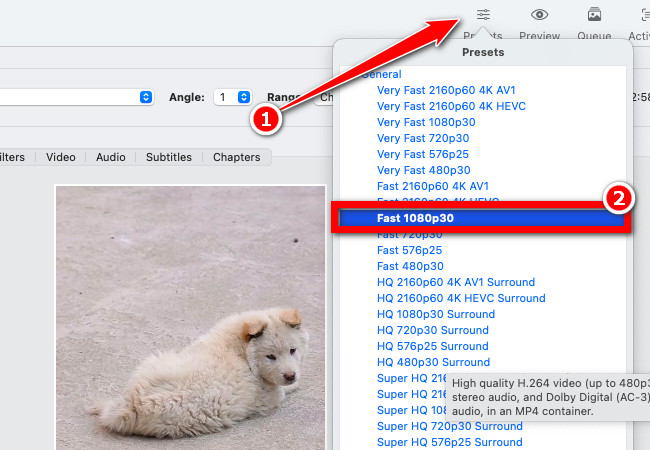
Note: This preset will help you compress the video file without changing its resolution if your video is in 1080p and 30fps. However, if your video is 60fps, selecting this preset will reduce the frame rate to 30fps, which may affect the smoothness of the video.
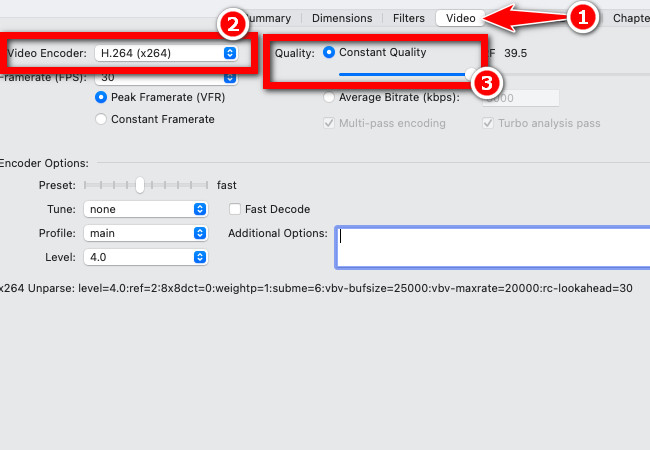
- After that, click the “Video” tab and set the “Video Encoder” to H.264 or H.265 for an even smaller file size. However, this may not be compatible with different devices. After that, adjust the “Constant Quality” by dragging its slider to RF 20 to 23 values.
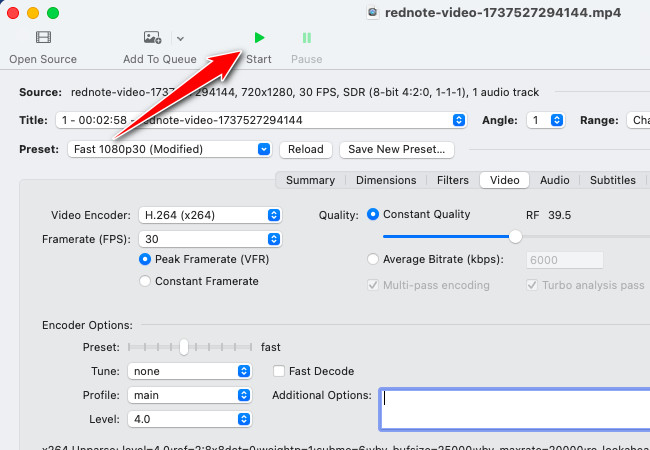
- Next, click the “Start” button to start the process of reducing the file size of your video. And that’s it! That’s how you compress video files using Handbrake on Mac.
Detailed Steps to Shrink Video File Size Online
The last tool solution you can use to reduce video size is FreeConvert’s Video Compressor. This web-based tool also enables you to easily reduce the size of your video for it supports user interface and easy-to-understand features. It supports an automatic compression operation, you just need to import the video and immediately initiate compression. However, if you wish to manually tweak some settings to acquire your desired size for your video, this tool supports additional settings! These settings include tweaking your video’s codec, choosing a compression method, adjusting the video’s file size based on percentage, MB, quality, and more! What makes this tool unique is it supports embedding external subtitles into your video!
Here’s how you use it:
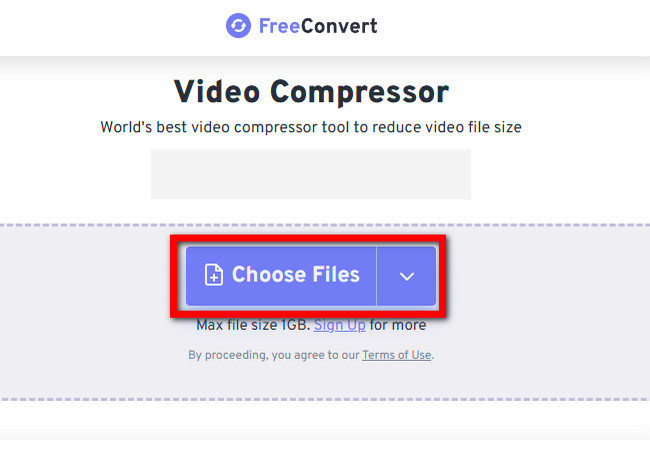
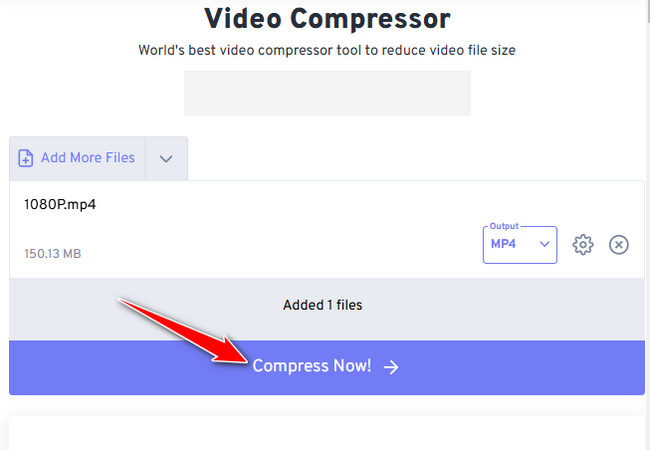
- Access FreeConvert Video Compressor’s website on your browser. Then, click the “Choose Files” button to import the video you want to reduce the file size.
- After that, for a quick compression operation, click the “Compress Now!” button. Then, wait for the uploading and compressing process to finish. Once done, you can download the output right away.
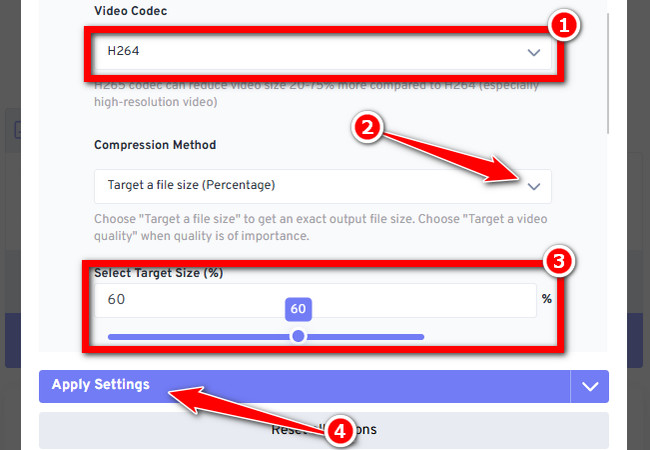
Tip: Otherwise, if you wish to manually compress the video, click “Advanced settings” with the “Gear” icon. On the new window, you can set “Video Codec” to H.264, select a specific “Compression Method” and adjust the slider. Then, click “Apply Settings” and perform the step 2 above.
Conclusion
That’s it! Those are the 5 ways to reduce video size on Windows, Mac, and online. Whether you want to increase storage capacity, speed up video uploads, or make sharing films easier, there’s a technique that will work for you. If you wish for greater control and better results, choose a powerful video compression software like RecCloud, HandBrake, or FreeConvert. Alternatively, you can manually compress videos using basic methods like zipping and trimming. So, what are still waiting for? Perform the one that suits your needs!


Leave a Comment