
We are all aware that PowerPoint is a well-known program used for making slideshow presentations. This is due to its easy-to-use interface and various functions which help users to make a good-looking presentation without any complicating process. However, a PPT file can only be opened within the PPT program, which means you cannot open it on various media players, including portable devices. This is the reason why some people have tried to find out how to convert PPT to MP4 or other kinds of video formats so as to make their visual presentation readily available to play on other platforms. In this post, we will show you some effective ways of turning the PPT slides into a video.
How to Make a PowerPoint Video
PowerPoint Default Function
Although PowerPoint doesn’t support the conversion of slides into a video file, the new version has been upgraded with an additional exporting feature since the demand for converting PowerPoint to video has increased. Now people can save the PPT as a video in MP4 or WMV format. This is indeed a great breakthrough for the program because the function allows you to play and share you PPT creations with your friends and colleagues.

Here’s how to make a PowerPoint video.
- Open your PowerPoint presentation.
- After that, click “File”, and then click “Export”.
- Choose “Create Video” from the options. You can also pick the resolution if you have a specific one in mind.
- On the second drop-down menu, you’ll be asked whether to use narration or set the recording timings.
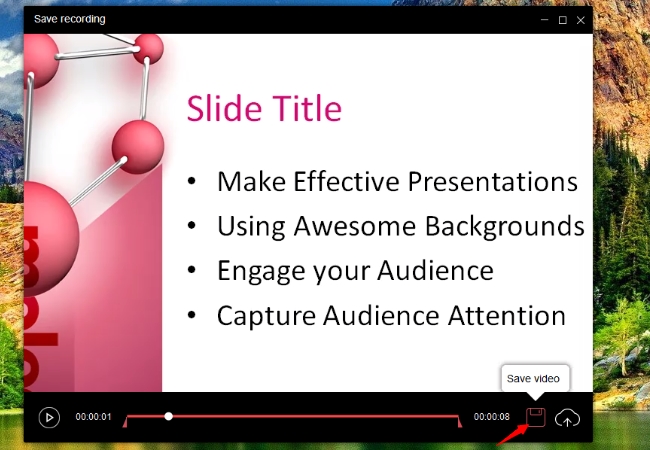
- Once everything is set up, click the “Create Video” icon at the bottom.
- Then, a new window will appear for you to fill in the video name and the video format. Lastly, click “Save”.
RecCloud
Another way to convert PowerPoint to video with sound is by using an intelligent program RecCloud. This is an online-based application that can capture any movements from your computer screen including PowerPoint presentations. What’s good about using this tool is that it not only allows you to record the screen activities, but also to include the system sound and microphone. When it comes to saving files, RecCloud supports most of the video file formats, including MP4, WMV, AVI, MOV, FLV, MPEG, VOB, ASF, and TS.
To add narration while you record your presentation, you can easily capture audio feeds by including the microphone in the audio input before you start the recording. And an annotation tool always comes in handy when you want to supplement with more content or highlight certain points while recording the PPT.
Moreover, this program also supports video uploading via its own cloud storage, so you can easily send the video recording within seconds and access the video files anytime you want in RecCloud. Additionally, those recordings can be shared by a direct link or embedded code as well, which is quite convenient when you intend to show the PPT video to others.
Let’s check out how to make a PowerPoint video with RecCloud:
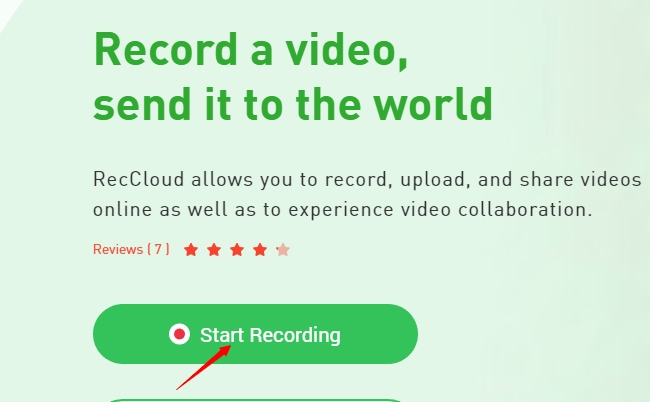
- Visit RecCloud’s main page.
- Click “Start Recording” to enable the recorder. . For first-time users, an online launcher needs to be installed first in order to activate the recorder.
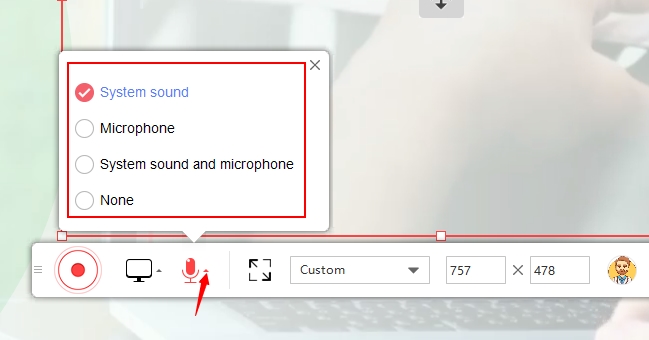
- After that, you can go to “Options” to configure some settings.

- Prior to recording you can also set the audio source for your recording by hitting the drop-down menu near the microphone-like icon and then selecting the system sound and microphone.
- Now open up the PPT presentation and select the recording region from the icon as in the image shown below.
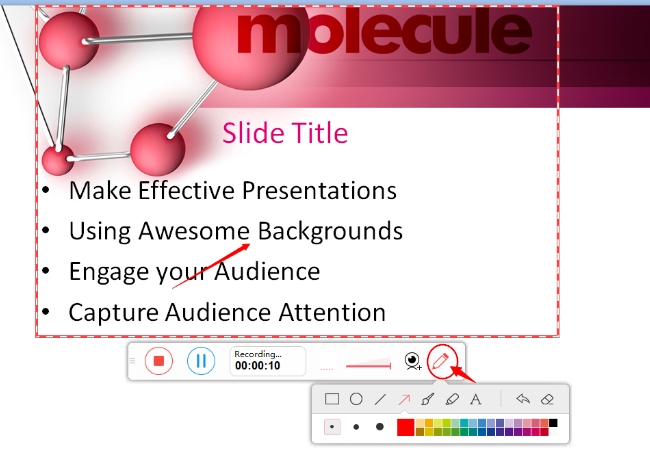
- To begin the recording, simply click the “Record” button. During the recording, you can use the annotation tool to mark up the screen.
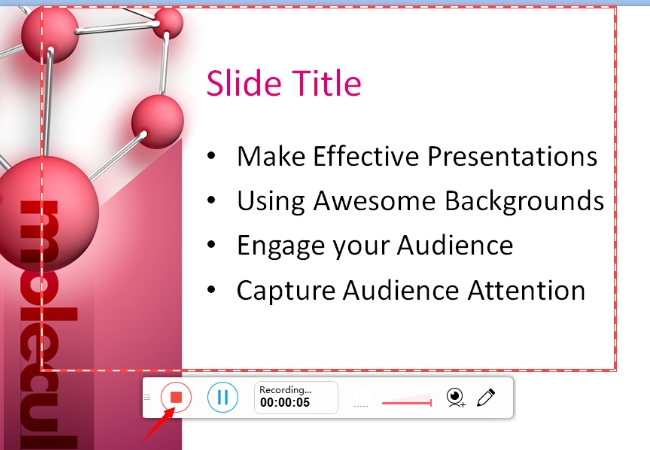
- To end the recording, click the “Stop” button and the video preview will appear.
- From here, you can trim the unwanted portions by moving the left and right sliders. Then, click “Save” from the bottom right corner and you will be able to view the video from a local disk or upload it to the cloud space after.


VeryPDF
The next program that can help you to convert a PPT to MP4 is called VeryPDF. It is basically a file converting software which works specifically on PPT files and turns them into a video file. Aside from converting the PPT file, VeryPDF also preserves the transitions and animations that the original PPT slideshow had stored. In terms of the output formats, this app can export the Power Point video in AVI, SWF, MP4, MOV, and FLV formats.
- Download and install VeryPDF.
- Click “Add Files” and and select your PowerPoint file.
- Next, choose your desired video format.
- Click “Convert” button and choose a saving folder. Finally, click “OK” to initiate the conversion.
MP3Care
For those who want to convert a PowerPoint to video online, there’s a PPT converter called MP3Care. It serves as a video converter that supports numerous formats including PPT andMP4. In the course of processing your PPT file in MP3Care, all of the tables, fonts and themes will be properly reproduced in the exported file.

To convert PPT with this web-based program, below are the necessary steps.
- Visit the MP3Care official page and go to its PPT to MP4 conversion function.
- Next, click “Select PPT File” and choose the PowerPoint you want to convert. Meanwhile, you can choose the transition time for the video as well.
- Now hit the “Convert” button to start the conversion.
- When the conversion is done a preview of the video will be shown.
- A video preview will show up when the conversion is done. Simply right click the video and choose “Save video as” so that you can pick the desired location to save to.
Conclusion
After getting the hang of how to make a PowerPoint video, you now have the privilege of playing the PPT presentation on various multimedia devices including the smart phones and tablets. And the above recommended recording tools can be used in case the transitions or animations got lost in the conversion process within PowerPoint. And if you have any better suggestions, don’t forget to leave them in the comment section down below!
Leave a Comment